Hubs and I drove back from Maine late Saturday night so that we could do work on Sunday. I needed to sew and he needed to work on law firm stuff for his clients. Sunday morning, we got up early, made breakfast, caught up on Fringe (love that show) and then set to work. I desperately needed to work on the Snow White costume that I promised I would make for my niece Brooklyn.
Brooklyn may be the cutest and tiniest two year old ever. Here's some proof to her cuteness. I know the picture's not great, but the back-story makes it adorable. She went to visit my sister at work (which she does sometimes when her brother has appointments and she's tired of sitting still). My sister has a Macintosh computer that Brookie loves playing with the Photobooth on. So...here goes....Photobooth fun with Brooklyn, and proof of cuteness:


Anyways, Sunday I finished cutting out and started sewing on the Snow White Costume. There were a serious amount of pieces. I was making the size 1/2, so it just seemed wrong to me that there were so many pieces. I know that doesn't make much sense, because even little girls can have intricate clothing. But still. Monday I finished the dress completely. I can't wait to see it on Brooklyn.

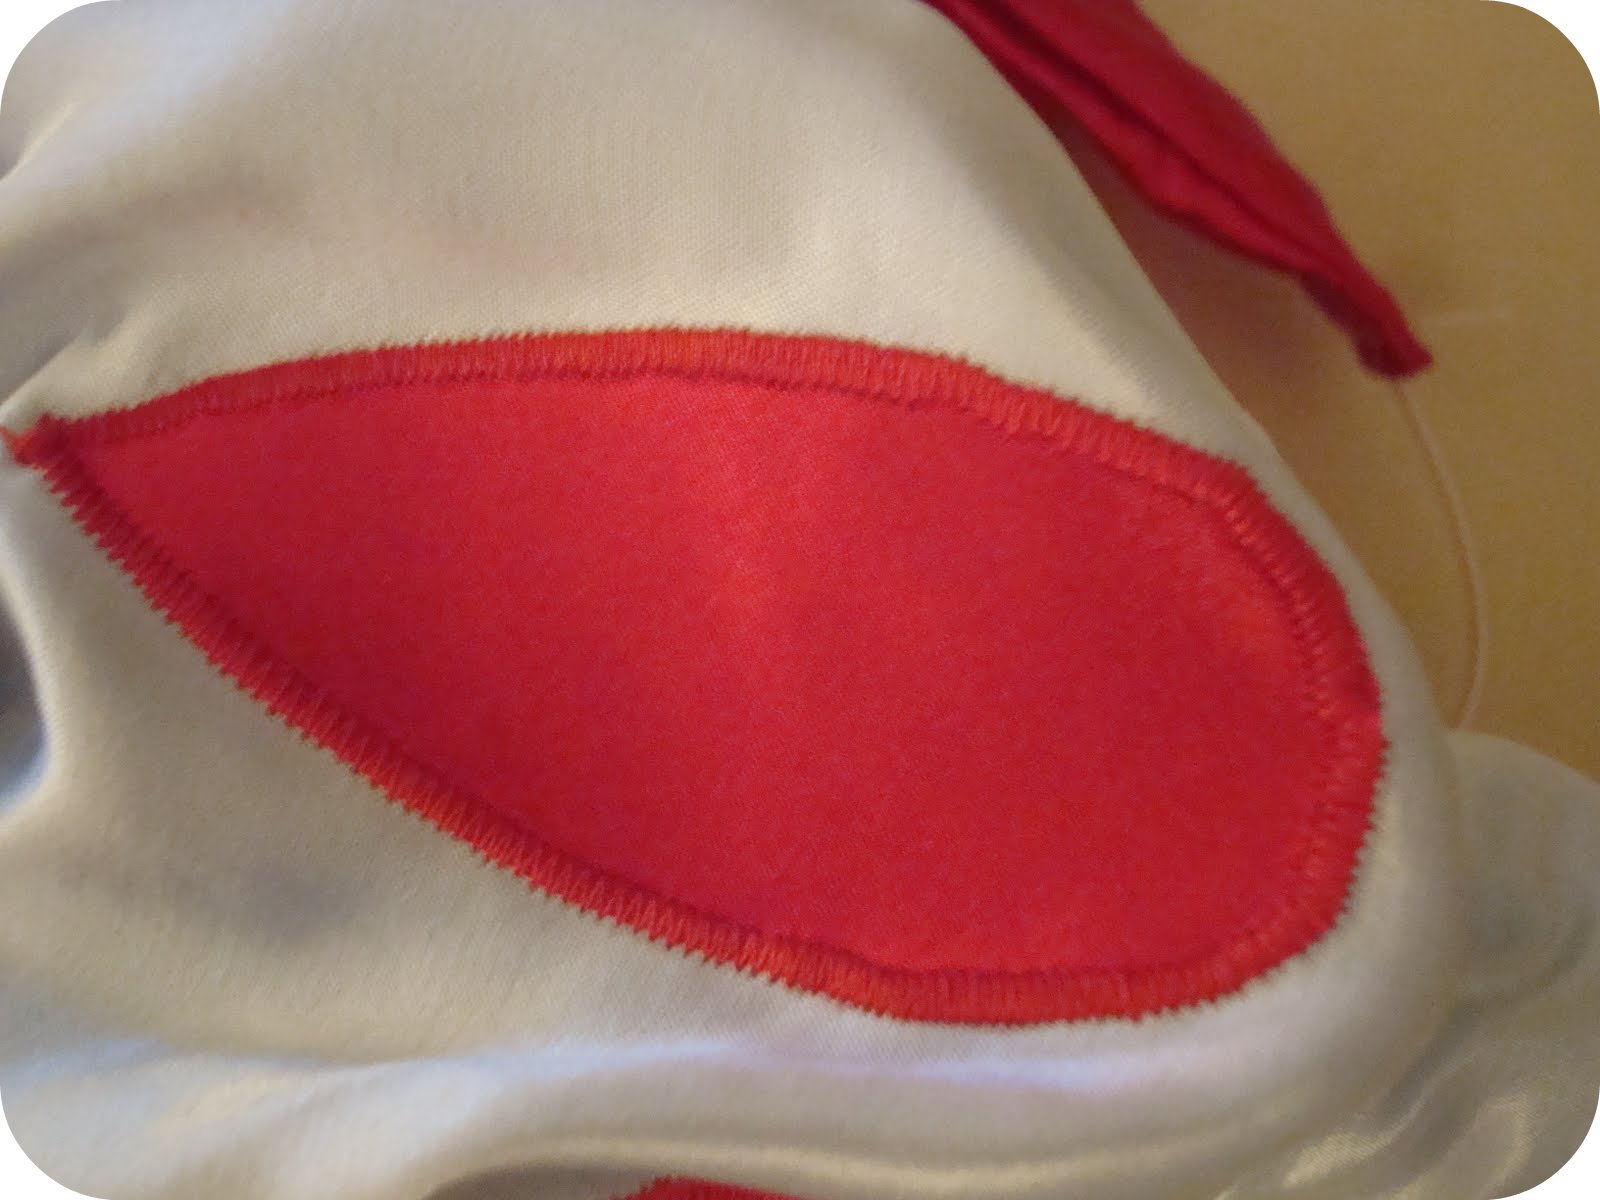
The dress was actually pretty easy to make, except for the piping on the front of the bodice and the sleeve band. The piping wasn't hard per-se, it would have just been a lot easier if I had a piping foot for my machine. I decided Sunday to add piping foot to my list of feet to buy (along with Ruffle and Pintuck feet).

The sleeve bands were hard only because they were so small. It was nearly impossible to get my machine in the little hole of the sleeve to sew up the sleeves. I would have thought that the pattern would have given me some hints on how to do this, since it was a toddler pattern....but no.

On the whole, I wasn't thrilled with the pattern. I was really unimpressed with the bodice of the dress. The dress had a bodice lining. Usually when there is a bodice lining it means that the lining is going to cover all of the seams of the bodice. This dresses bodice lining didn't do that. As far as I can tell, the only purpose that the bodice lining served was to finish the neck seam. I zig-zagged all the seams, cause satin is really frayey (I know...not a word), and stitched a ribbon over the waist where the skirt and the bodice are sewed together. No two year old is going to want that big seam scratching their belly.


I also made the little headband to go with the dress. It had a cute stuffed bow on it. I almost want to make one for myself it's so adorable.


Oh, I'm adding this to a couple of link parties! I do so love to share my work with the internet :)

And I've added this to CRAFT's Halloween contest too :) Honestly, the prizes are pretty sweet.


2 comments:
This is a beautiful costume. My daughter wants to be Princess Peach this year and I am dragging my feet on it. I would love it if you would link this post on my Halloween Costume Linky party. www.corner--house.com
This is amazing! We just went to Disneyland and my daughter dressed up as Cinderella and Minnie Mouse (yep...two costumes in one day...is she a diva or what?) and I so wanted her to be Snow White too! There is always next year:)
Post a Comment